The Photo That Started This Whole Mess
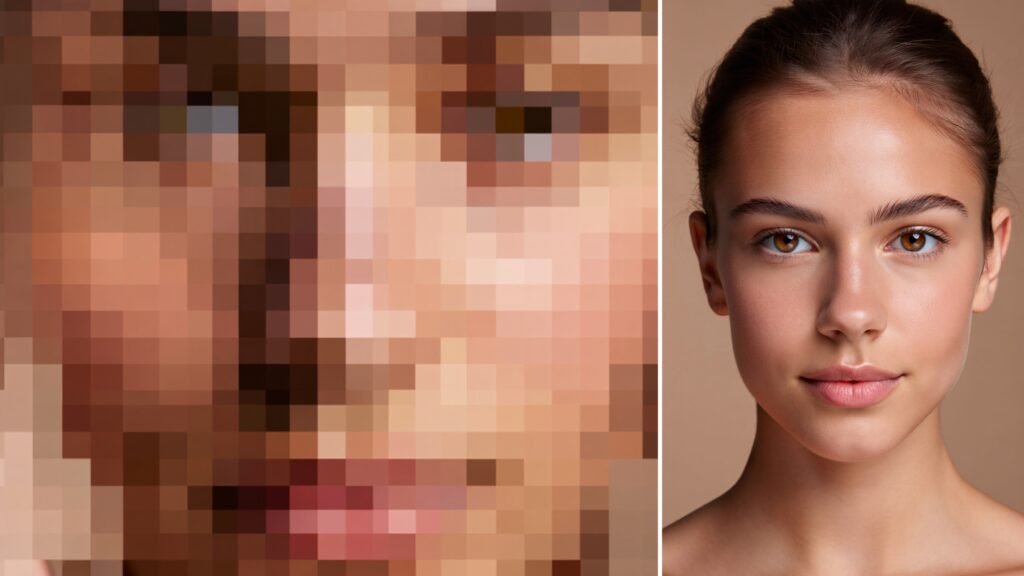
If you are trying to unpixelate images without losing quality, you’re not alone The original was fine — until I opened it and realized it had been resized, cropped, screenshotted, and re-saved so many times that it looked like it was made of Lego bricks. Every edge was a jagged little square.
I told her I’d “fix it in five minutes.” That was a lie. I spent the next three hours going down a rabbit hole of AI photo enhancers, sketchy upscaling apps, and one very frustrating attempt in Photoshop before I actually got a usable result.There are several common reasons why people need to unpixelate images before printing or publishing them online
So this isn’t a “top 10 tools” listicle written from a press release. This is what happened when I actually sat down and tried to unpixelate a picture that was genuinely ruined, using only free or mostly-free tools, and what I’d tell a friend if they asked me to do it again.
Why Pictures Turn Into Pixel Soup in the First Place
Before I get into the fixes, it helps to know why this happens, because it changes which tool is actually going to help you. Many online tools allow you to unpixelate images in just a few clicks without needing complex Photoshop skills.
Pixelation usually comes from one of these:
- Over-compression — WhatsApp, Instagram DMs, and email attachments squeeze your photo’s file size down, and detail gets thrown away in the process.
- Upscaling a small image — stretching a 300×300 px photo up to poster size means the software has to invent pixels that were never there.
- Screenshotting a screenshot — I see this constantly with memes and forwarded images. Every generation loses more quality.
- Using an image stretcher badly — if you’ve ever dragged the corner of a photo in Canva or PowerPoint to make it “just a little bigger” and watched it turn to mush, that’s this exact problem.
Knowing which one caused your mess tells you whether you actually need an AI upscaler, or whether you just need to stop stretching the image past its native resolution
My Actual Testing Setup
To keep things fair, I didn’t just grab already-broken photos from random folders. I took three clean, high-res photos and intentionally trashed them using a basic low quality image maker tool (there are a bunch of free ones online that let you crank down resolution and compression on purpose) so I had a controlled “before” to compare against.
Then I ran the same three damaged photos through:
- Upscale.media
- BigJPG
- Pica AI photo enhancer
- Photoshop’s AI upscale feature
Here’s how each one actually performed, not just how they describe themselves on their landing pages.
Step-by-Step: Unpixelate an Image Using Upscale.media
This was my first stop because it’s free, browser-based, and doesn’t ask you to install anything.Before you try to unpixelate images, make sure your original file isn’t cropped too small.To successfully unpixelate images, you just need to upload your file and let the AI process it
Steps I followed:
- Go to Upscale.media and upload your pixelated image directly from your device.
- Choose the enhancement type — I selected “Photo” since mine was a portrait, but they also have options for art and graphics.
- Let it process (mine took under 20 seconds for a phone photo).
- Compare the before/after slider before downloading.
- Download in the resolution offered on the free tier.
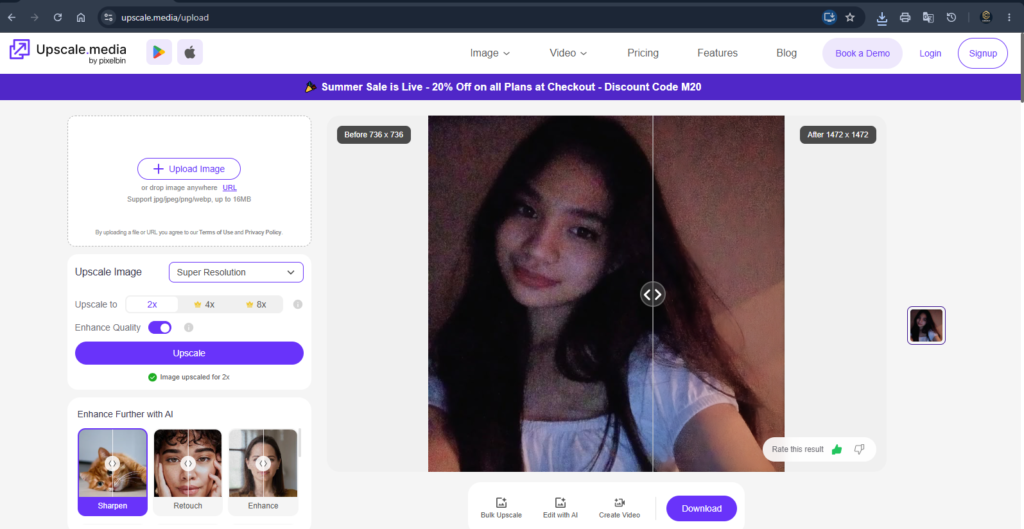
My honest take: For mild pixelation — the kind from a compressed WhatsApp photo — this genuinely surprised me. Skin tones stayed natural instead of turning plastic-looking, which is where a lot of free tools fall apart.While free tools can easily unpixelate images, paid software gives slightly sharper results for large prints
Where it struggled: On the heavily pixelated test image (the one I deliberately wrecked), fine details like individual hair strands got smoothed into blobs. Fine for a quick fix, not great if you need print quality.
Step-by-Step: Trying BigJPG for Anime and Line Art
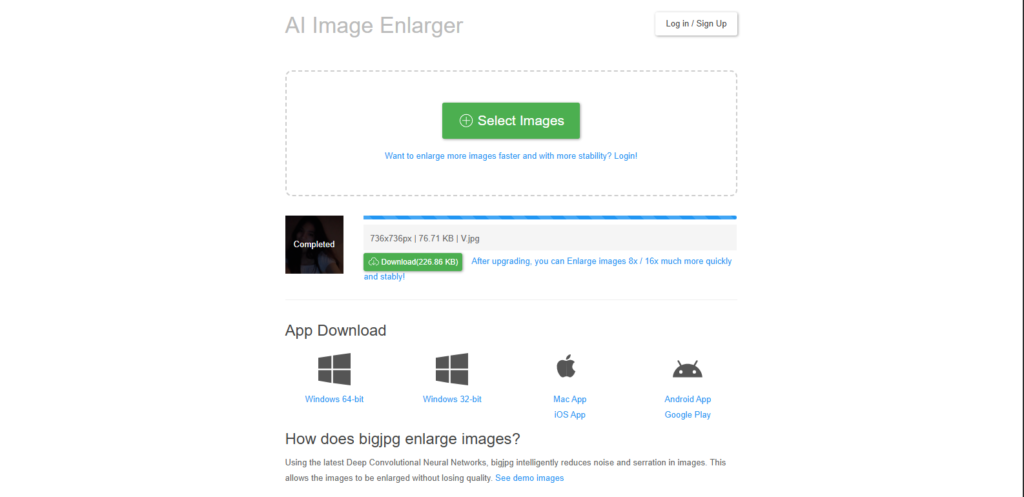
BigJPG markets itself around anime and illustration upscaling, so I ran my most “flat color” test image through it — a simple illustration-style graphic.
Steps:
- Upload the image on BigJPG’s site.
- Pick the style — Anime or Photo (this matters more than you’d think).
- Choose noise reduction level. I tested both “low” and “highest” on the same image.
- Wait in the free queue — this is the catch, free processing can take a few minutes during busy hours.
- Download once processing completes.
- Always check the final resolution after you unpixelate images to ensure no artifacts were added
Real result: On illustrations and flat-color graphics, this outperformed the photo-focused tools by a noticeable margin. On my actual photograph, though, it introduced a weird plasticky sheen around the edges — so I wouldn’t recommend it if your goal is specifically to unpixelate a picture of a person or real-world scene.
Step-by-Step: Pica AI Photo Enhancer
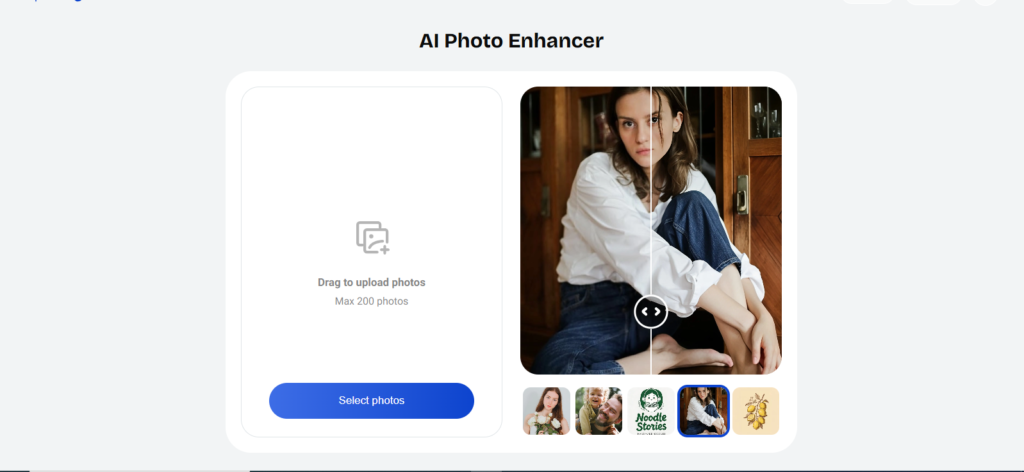
I’d seen Pica AI photo enhancer recommended in a few forums, so I gave it a shot on my phone since it’s app-based.
Steps:
- Download the Pica AI app and upload the pixelated photo.
- Select the enhance or restore mode (some versions bundle this under a “clarity” or “HD” filter).
- Preview before confirming — this step matters because some free tiers apply a filter-like effect that oversharpens.
- Save the processed image, watching for any watermark on the free tier.
Honest note: It did a solid job brightening and sharpening on mobile photos taken in decent lighting. But on my badly pixelated test image, it leaned a bit heavy on the “beauty filter” side of things — skin looked slightly smoothed in a way that wasn’t quite natural. Good for casual sharing, not what I’d use for a professional or printed photo.
Step-by-Step: Photoshop AI Upscale (Free Trial Route)
If you already have access to Photoshop, or you’re willing to use the free trial, this is genuinely the most controllable option — but it’s also the least “instant.”
Steps I used to upscale image in Photoshop:
- Open your image in Photoshop.
- Go to Image > Image Size.
- In the resample dropdown, select Preserve Details 2.0 — this is the setting doing the actual AI upscale work.
- Increase the resolution or dimensions gradually — don’t jump straight from 500px to 4000px in one go.
- Apply a small amount of noise reduction in the same dialog to smooth out pixelation without losing edges.
- Flatten and export as PNG for the best quality retention (JPEG will re-compress and undo some of your work).
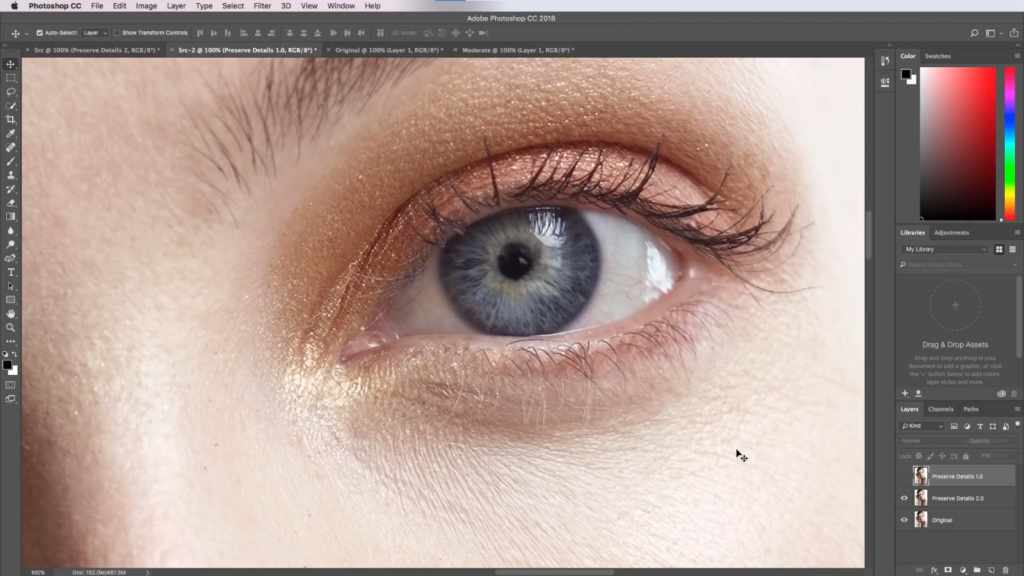
Where this beat the free web tools: control. I could adjust noise reduction and detail preservation manually instead of accepting whatever the algorithm decided. On my heavily pixelated test photo, this was the only method where the final image didn’t look artificially smoothed.
Where it didn’t: it’s slower, and if you don’t already use Photoshop, the learning curve isn’t worth it for a one-off fix.
Mistakes I Made (So You Don’t Have To)
- I upscaled the same image twice through two different tools, thinking it would double the improvement. It didn’t — it just doubled the artifacts and made things worse. Pick one tool and stick with it.
- I ignored the output format the first time and saved everything as JPEG, which quietly re-compressed my “fixed” photo and brought some pixelation right back. PNG held up far better for anything I wanted to keep sharp.
- I assumed bigger was always better. Pushing a tiny thumbnail up to billboard size, even with a great AI tool, still looks off if you zoom in. There’s a ceiling to what any unpixelate image tool can realistically rebuild.
- I trusted a tool’s before/after preview at face value. A couple of platforms show you a flattering side-by-side that looks sharper mainly because of added contrast, not actual recovered detail. Always zoom into the full-size download before deciding it worked.
So Which One Would I Actually Use Again?
For a quick, casual fix — someone’s blurry profile picture, an old family photo pulled off Facebook — Upscale.media is my go-to now. It’s fast, free, and doesn’t overdo the smoothing.Using web-based AI upscalers is currently the fastest method to unpixelate images online for free.
For illustrations, logos, or anime-style art, BigJPG is worth the wait in the free queue.
For anything I actually care about the final quality of — think prints, portfolio work, or a photo going on a website — I go straight to Photoshop’s AI upscale. It takes longer, but it’s the only method here that didn’t leave that telltale “AI-smoothed” look on close inspection.
My cousin’s graduation photo, by the way, ended up going through Photoshop in the end. It’s not perfect if you zoom to 300%, but printed at a normal size, nobody can tell it was ever a pixelated mess pulled off a group chat.
If you’re dealing with your own pixelated disaster right now, my honest advice is this: match the tool to the source of the damage, don’t stack multiple upscalers on top of each other, and always check your export format before you call it done.
check out our latest guides https://webbysaad.com